I Created Google Maps using Open Source


Google Maps really helps us in our daily lives. In the past, when looking for a place, we would ask locals for directions or use a paper map to find it. Nowadays, we can simply search for the location in navigation apps like Google Maps or Waze, and the route is displayed instantly.
As a programmer, I’ve always wondered how Google Maps works. How can a single application contain maps of the entire world and display them with such fast response times? How can Google Maps pinpoint a location when we search by name, and how does it generate a route from one location to another while considering factors like vehicle type, one-way streets, and more?
Today, I will explain the concept of creating a web application similar to Google Maps using entirely open-source libraries and free APIs. For this tutorial, I don’t expect you to have any prior knowledge of Geospatial or Geographic Information Systems (GIS), although it would be helpful if you do. However, I do expect you to have some understanding of web development, including frontend, backend, servers, and APIs.
Of course, Google Maps has many other features, but for now, let’s focus on three main ones:
- Displaying a map
- Searching for points of interest (POI)
- Finding a route between two POIs
Displaying a Map
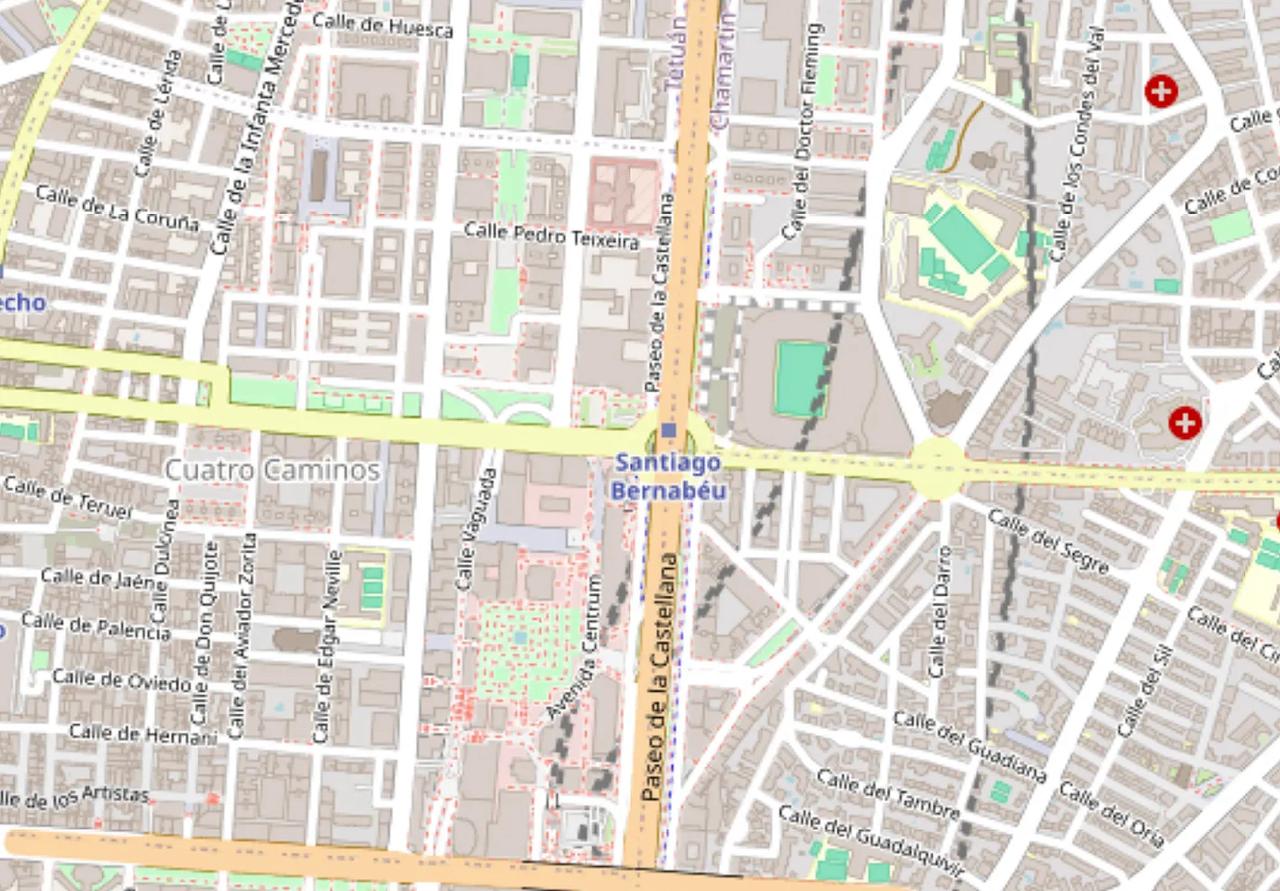
One way to display a map on the web is by using an image. But do you think it’s feasible to show a single image of the entire world with detailed features like roads, buildings, etc.? Can you imagine how large that image would be? And do you think it’s possible to load and display it in a browser just like that?
When displaying map on the browser, there are two things needed: a tile server, and a library to display the map.
In Google Maps, if you try to zoom in or out quickly, you might notice that the map loads tile by tile, rather than as one large image. This is how maps are displayed in a browser. The app relies on a tile server, which is a server that provides pre-rendered map tiles at various zoom levels. The server only sends the necessary tiles that will be displayed.
Simply put, when you zoom in, the browser requests and loads only the visible tiles for that zoom level. There are several methods for displaying maps on the web, such as WMS and WFS. You can read more about these methods later if you’re interested!
Setting up a tile server on your own can be challenging, as it involves obtaining geospatial data, generating tiles from it, and serving those tiles. Fortunately, OpenStreetMap (OSM) provides a free, editable global map created by a community of contributors, and it’s available under an open license. We can use existing OSM tile servers to access the tiles we need.
On the front end, we need a library to display the map, enable movement and zooming, and handle tile requests as the map view changes. For this, I will use Leaflet.js, an open-source JavaScript library for interactive maps. It provides essential mapping features with simplicity, performance, and usability, supports numerous plugins, and offers a well-documented API. Leaflet.js is also supported in modern UI frameworks such as React, Angular, and Vue.
The basic idea of using Leaflet.js with an OSM tile layer is to provide the OSM tile URL to the Leaflet object. Here is a minimal implementation of Leaflet.js in HTML and JavaScript:
Just like that, you have created an interactive map web application. Pretty simple right?
In the next post, I will explain how to implement the other two features. Stay tuned!